

Cart
You have no items in your shopping cart
To have fun and deliver top performance on the slopes, it's important that your skis are properly maintained. Waxing is an important aspect of this process.
When you come back from an active day on the slopes, it is important to always dry your gear. This will prevent your gear from rusting. After a winter sports week, there is more to do than only drying. Namely, it is important to wax and grind your skis. It is possible to do this at a professional, but this will obviously cost you more money. Moreover, taking care of your own gear can also be fun to do.
Why should I wax and sharpen my skis or snowboard?
Of course you don't have to, but if you choose to do wax and sharpen regularly, your gear will last longer and perform better. When your skis or snowboard are blunt and not well-padded, they’ll have less grip on different surfaces. After waxing and sharpening your skis, it glides and cuts through the snow and ice more easily, which will give you a better balance on the slopes.
What do I need for waxing?
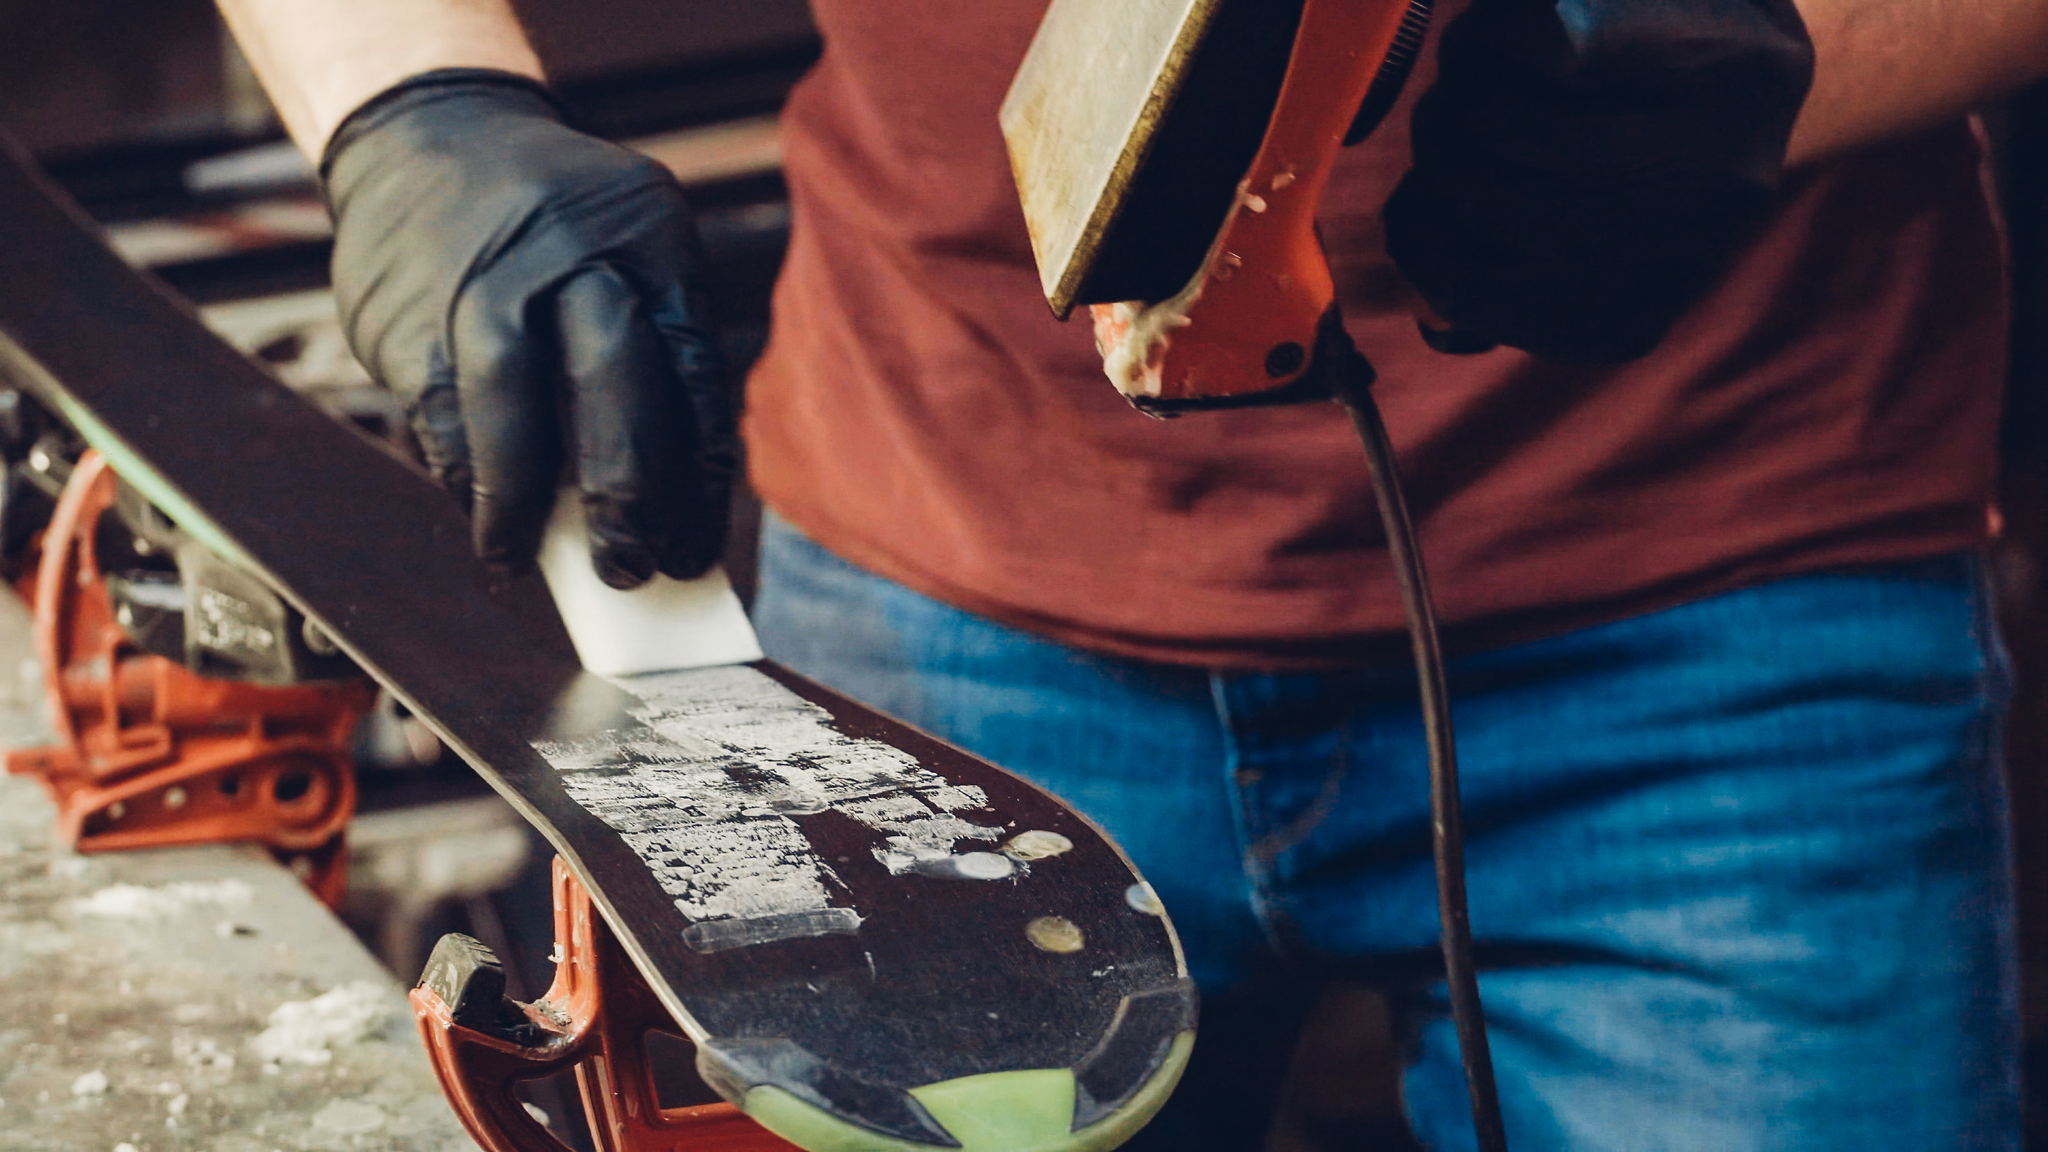
Do you have all of the above products? Then let’s get started. Note: you’ll be working with sharp products, so always ensure your own safety. Make sure you wear good gloves.
Step 1
Secure the clamp set if you have it on the workbench. Then secure the skis in the clamps and dry the ski well.
Step 2
Hook the elastics around the ski stopper over the back of the ski so that the ski stoppers do not get in the way during waxing.
Step 3
Grab the horse brush and brush from back to front in a smooth motion. This will remove any residue from a previous wax. Clean the ski again.
Step 4
Heat the wax iron to the correct temperature. There should be no smoke, but the wax should be able to melt. Melt the wax by holding the wax against the wax iron. Spread the drops evenly over the ski. Now there should be drops of wax scattered all over the ski.
Step 5
When all the drops are evenly distributed over the ski, gently move the wax iron from bottom to top over the ski. Repeat this a number of times. By doing this you ensure that the wax ends up in uneven spots on your ski. Make sure that your don’t feel resistance with the wax iron, if you do, use a little more wax.
Step 6
Use the scraper to free the corners of the ski from wax and let the ski alone for at least 3 hours to ensure that the wax is absorbed properly.
Step 7
Scrape off any excess wax in nice long movements from bottom to top with the scraper.
Step 8
Finally, use the nylon brush to get the structure of the ski back. It is important to do this in nice long strokes from bottom to top.
Congratulation, you just successfully waxed your own skis or snowboard. Enjoy your well-maintained gear next time on the slope again!
Comments
Be the first to comment...